GladRoTools is a native macOS companion app for Roblox Studio. It connects to Studio through a local TCP bridge and gives you deep visibility into every asset in your place. This guide walks you through setup.
Step 1: Install the App
Step 2: Install the Studio Plugin
- Open GladRoTools.
- Click the Settings button (gear icon) in the bottom-left corner of the sidebar.
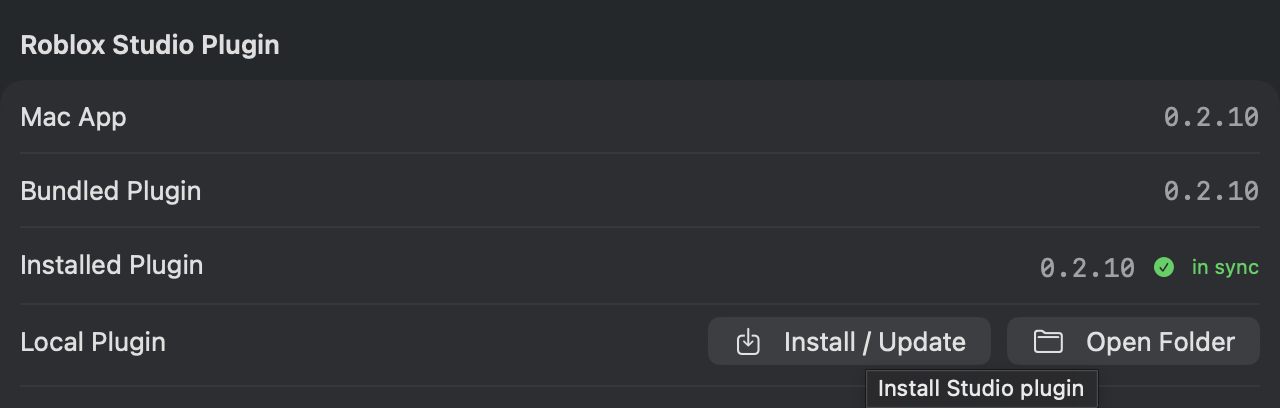
- Under Roblox Studio Plugin, click Install / Update.
- The app copies its bundled plugin into Studio’s
Pluginsfolder. - The path is shown below the button — you can click Open Plugins Folder to verify.
- The app copies its bundled plugin into Studio’s
- The plugin version should match the app version. If it shows a mismatch, reinstall.
Step 3: Start the Bridge Server
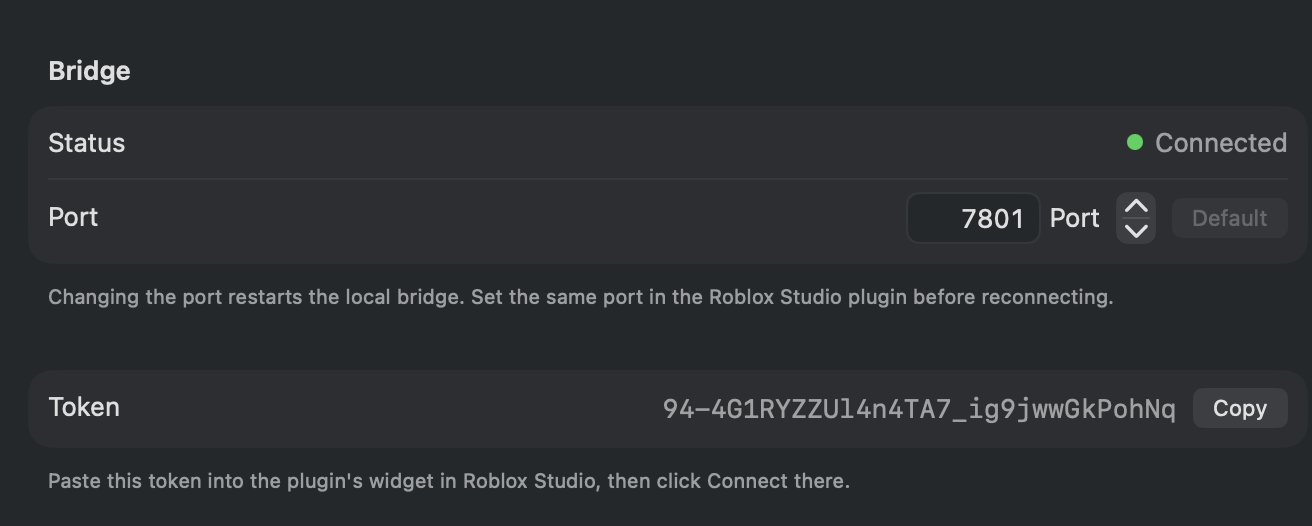
- In Settings → Bridge, check the port number (default:
7801). - The server starts automatically when the app launches.
- Look at the toolbar badge:
- Red: Bridge server is not running.
- Orange: Server is running but no Studio plugin is connected.
- Green: Plugin is connected and responding.
- Make sure your firewall allows local TCP connections on the bridge port.
Step 4: Connect from Studio
- Open any place in Roblox Studio.
- The GladRoTools plugin loads automatically (it is in the Plugins folder).
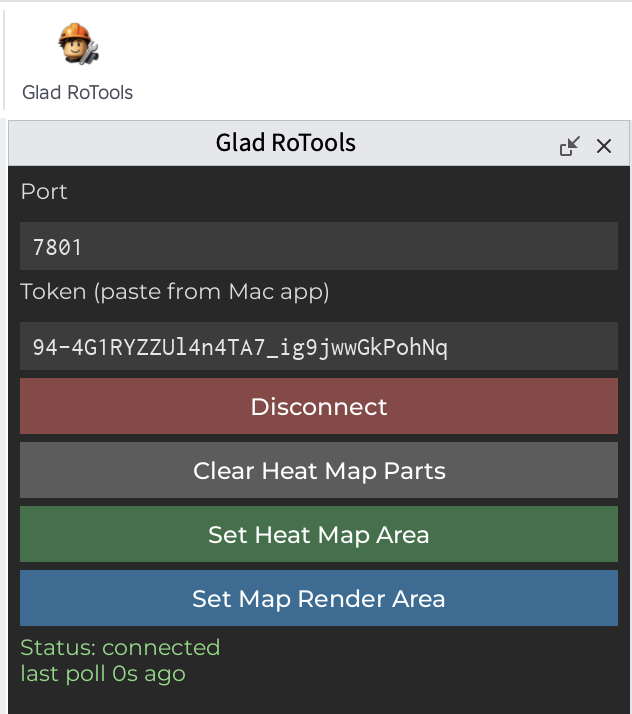
- In Studio, open the GladRoTools plugin panel (Plugins menu → GladRoTools).
- The plugin connects to the bridge on
localhost:7801. - The toolbar badge in the Mac app should turn green.
Step 5: Sign In with Roblox
- Open Settings (GladRoTools → Settings… or ⌘,).
- Select the Roblox section.
- Click Sign In with Roblox and complete authentication in your browser.
- The app stores OAuth tokens locally. Your credentials are never seen or stored.
Signing in enables features that download or upload assets — model analysis, image tools, release checklist, and more. Browsing and local inspection work without signing in.

Step 6: Scan Your Place
- Click any asset browser in the sidebar — Decals, Sounds, Meshes, or Animations.
- The app prompts the plugin to scan the place for assets.
- Once the scan completes, you can browse, filter, and inspect every asset.